Okay, stop whatever you’re doing. Seriously. I’ve had one of those weeks—you know the one, where you forget to buy milk, almost wear two different shoes, and dinner prep feels like an advanced degree. And then… there’s Garlic Butter Chicken. This recipe isn’t just a recipe; it’s the culinary equivalent of finally sitting down after a 12-hour shift. It’s an absolute game-changer, and it takes, like, 20 minutes total.
I’ve tried a million chicken recipes, honestly. They’re either dry, bland, or they call for some ridiculous, three-hour marinade. But this one? This is the one. The first time I made it, I forgot to buy heavy cream (classic me), so I just used extra chicken broth and let it reduce way down, and you know what? It was better. The sauce was lighter, silkier, and just clung to the chicken like a dream.
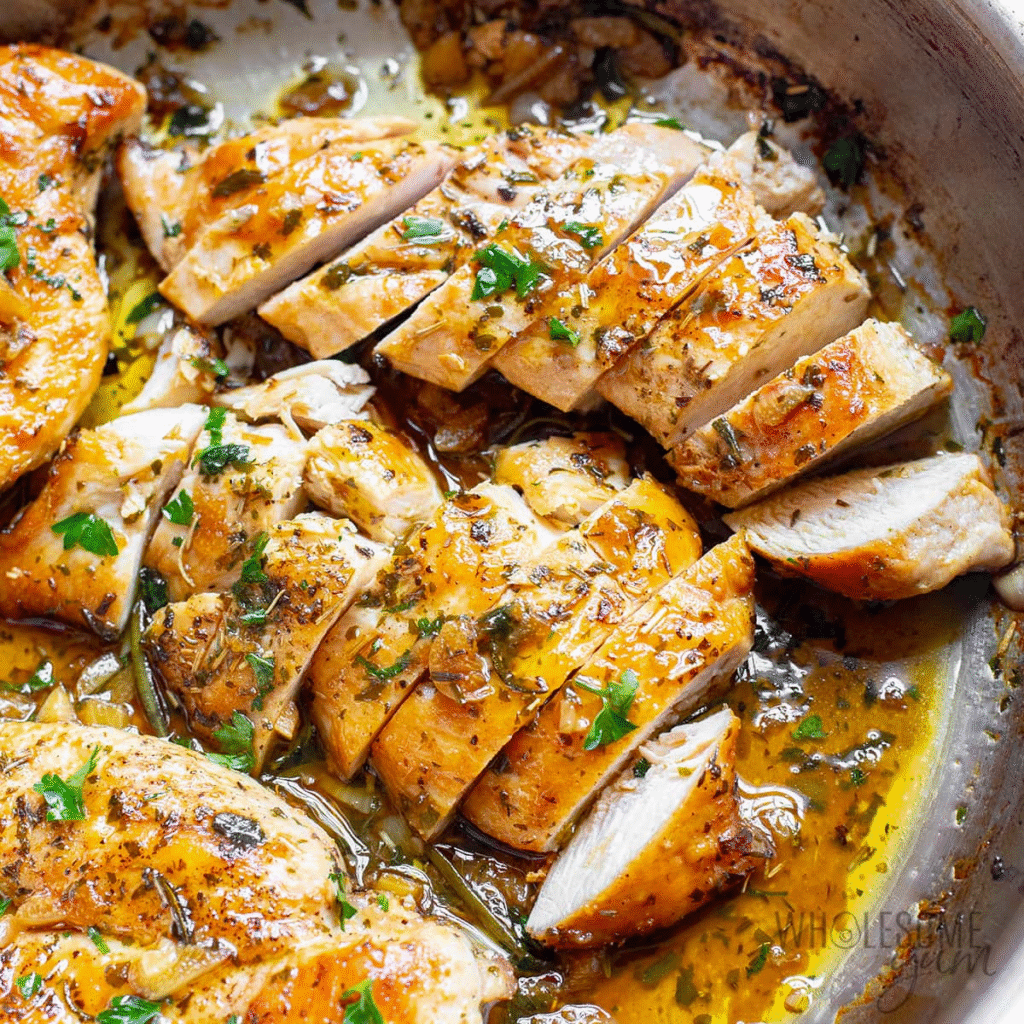
The secret? It’s all about that initial sear for the crispy skin, then bathing the whole darn thing in the most glorious, nutty, browned butter-garlic bath. You end up with a chicken breast that’s juicy enough to cut with a fork, drenched in a sauce that’s basically liquid gold. Don’t even think about making rice without pouring the leftover sauce all over it. You just gotta make this, like, tonight. I’m not kidding.
🎯 QUICK FACTS TABLE
| Metric | Estimate |
| Prep Time | 8 Minutes |
| Cook Time | 12 Minutes |
| Total Time | 20 Minutes |
| Servings | 4 |
| Difficulty | Easy Peasy |
Export to Sheets
📝 INGREDIENTS SECTION
The Chicken & Seasoning
- 4 Boneless, skin-on chicken breasts (Skin-on is non-negotiable for that killer crisp! If you must use skinless, adjust your cooking time down.)
- 1 tsp Kosher salt
- 1/2 tsp Freshly cracked black pepper
- 1 tbsp Olive oil (Just enough for the initial sear, nothing fancy!)
The Garlic Butter Bath
- 4 tbsp Unsalted butter (Always unsalted, because different brands have different salt levels, and we wanna control the flavor!)
- 6 cloves Garlic, minced (Yes, six! I’m heavy-handed with garlic. If you think six is too much, then you’re wrong—but five is fine, I guess.)
- 1/2 cup Chicken broth (I keep those little cubes in my pantry for emergencies, but low-sodium canned is great, too.)
- 1 tsp Dried Italian seasoning (Adds a surprising depth; don’t skip it, it’s worth the $2 at the store.)
- 1/4 cup Fresh parsley, chopped (Only chop right before you use it! The brighter the green, the better, honestly.)
👩🍳 LET’S COOK!
- Prep Time is Go Time: Pat those chicken breasts super, super dry with paper towels. I’m talking drier than the Sahara. This is the number one rule for crispy skin. Sprinkle ’em all over with the salt and pepper.
- The Sizzle: Get a heavy-bottomed skillet (cast iron is my fave, it holds the heat like a beast!) screaming hot over medium-high heat. Add the olive oil. When the oil is shimmering—not smoking, shimmering—lay the chicken breasts skin-side down. Listen for that immediate, aggressive hiss and crackle. You want that high-pitched sound.
- The Sear: Let them cook, undisturbed, for about 5-7 minutes. Don’t touch ’em! Don’t peek! You are creating an amazing, golden-brown crust. When they release easily and look gorgeous, flip them over. Now, reduce the heat to medium-low.
- Butter Up: Drop the 4 tbsp of butter right into the pan. As it melts, it should immediately foam. Add the minced garlic and Italian seasoning. The smell right now should be completely intoxicating—nutty butter and pungent garlic. Let the garlic cook for about 30-60 seconds; you want it fragrant, not brown and bitter.
- The Baste & Simmer: Tilt your pan slightly and use a big spoon to constantly drizzle the melted garlic butter over the tops of the chicken breasts. This is called basting, and it’s how you keep the chicken incredibly juicy and infuse it with flavor. Cook for another 3-5 minutes, or until the internal temperature reaches 165∘F (74∘C).
- The Sauce Reduction: Take the chicken out and put it on a cutting board to rest (don’t skip this, you’ll lose all the juices!). Pour the chicken broth into the skillet. Crank the heat back up to high and let it bubble and reduce for just a minute or two until it thickens slightly and has a syrupy sheen. Stir in the fresh parsley. Honesty moment: I almost always forget to take the chicken out before I add the broth and have to fish it out like a madwoman. Don’t be me.
- Serve: Slice the chicken (or don’t, I sometimes just eat the whole darn thing), pour the glorious sauce over it, and devour!
📊 NUTRITION & TIPS
Pro-Tips Section: Little Tweaks, Big Results:
- [Time Saver]: Save time by mincing your garlic while the chicken is searing skin-side down. I’m a huge fan of multitasking—less downtime means eating faster!
- [Substitution Tip]: If you want a creamier sauce, pull the chicken out, then add 1/4 cup of heavy cream along with the chicken broth. It adds a lovely, silky texture, but the broth-only version is lighter and still totally killer.
- [Essential Technique Tip]: The key is heat control in Step 4. If your butter gets too dark before you add the broth, the garlic is likely burnt—you want browned butter (nutty smell), not black butter (bitter smell). Lower the heat immediately if it’s browning too fast.
❓ READERS ASKED, WE ANSWERED
Q: Can I use this recipe with boneless, skinless chicken thighs instead of breasts?
A: Oh, absolutely, you totally can! Chicken thighs are much more forgiving—they have more fat, so they stay insanely tender and moist even if you slightly overcook them. The only major difference is the cook time; thighs usually need a good 6-8 minutes per side, maybe even longer, depending on their size. You won’t get that same crispy skin, obviously, but you’ll get a beautiful, golden crust and a flavor bomb. Don’t even bother pounding them—just season ’em up, follow the same steps, and get ready for a gorgeous, toothsome texture. You got this!